Hi Bakers!
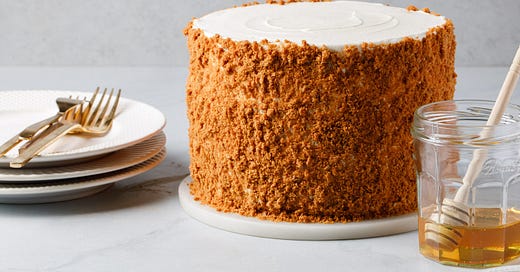
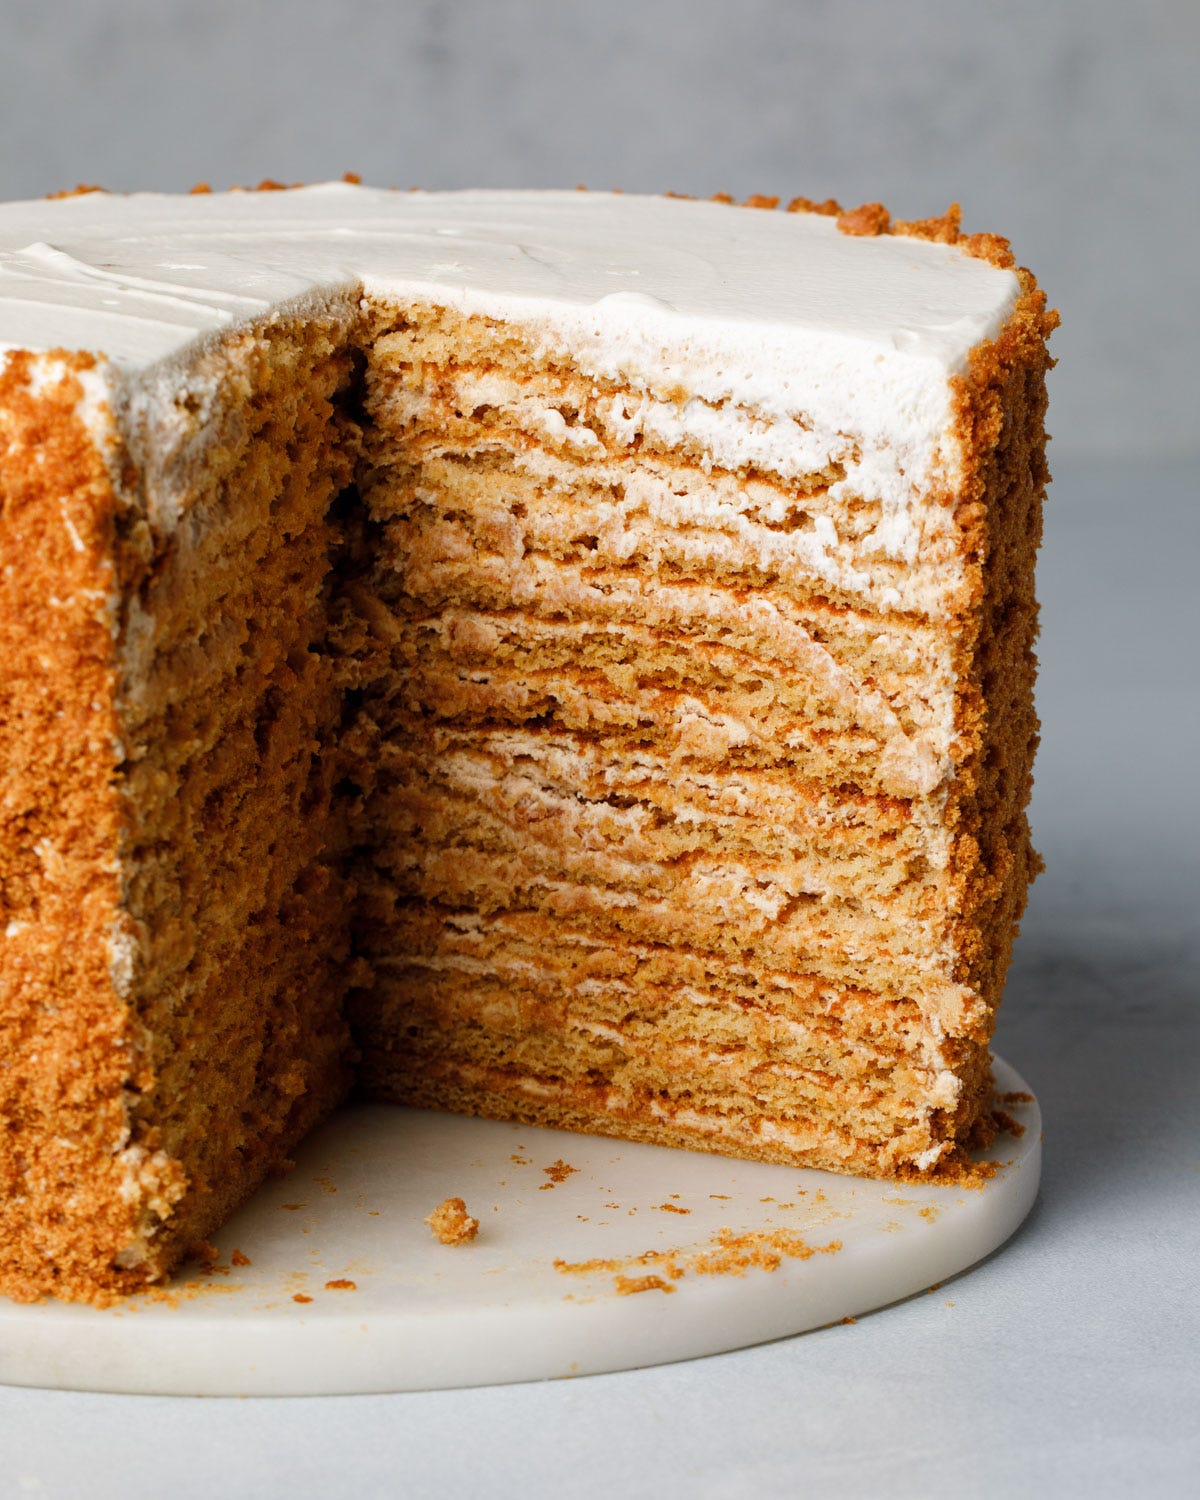
I’ve been living and breathing (and eating!) this 15-layer Honey Cake for the past week. It’s actually been on my mind for months, and I am so excited to have a reason to make and share this epic cake with you all for Birthday Cake Club.
15 layers might sound like a lot, because well, it is. But this impressive cake comes down to just two components - the burnt honey biscuit layers and the very non-traditional speculoos whipped cream. It is definitely worth the effort, especially for all you October birthday babies. Enjoy!
The Honey Cake dates back to the 19th century. It’s said that a young chef made it for Empress Elizabeth Alexeievna, who decidedly disliked honey. But, she loved the cake! And so did everyone else.
Also known as Medovik, the grand dessert is sometimes made with a dough that is rolled out into multiple biscuits to create the layers. Today, I’m following the lead of star pastry chef Michelle Polzine and making a batter for the cakes.
Owner and visionary behind the now defunct 21st Century Cafe, Polzine brought old world European desserts to the San Francisco restaurant. It was the unforgettable Russian Honey Cake that graced the cover of her cookbook, Baking at the 21st Century Cafe, that stole my attention.
What Does it Taste Like?
This recipe is like a giant icebox cake. No matter which method you choose, the thin layers bake up rather firmly. After being layered with whipped cream and set in the refrigerator, the cake softens to a show-stopping dessert. Caramelizing some of the honey gives an extra boost of flavor to the otherwise simple cake layers.
Often traditional Russian Honey Cakes are filled with a sour cream whipped filling. Polzine famously added dulce de leche and burnt honey to hers.
Today, I folded in a speculoos cookie butter spread to match the cookie crumb exterior. The outside of the cake is covered in cake crumbs which I first mistook for crushed graham crackers. I’m calling it a happy accident as the spiced cookies add amazing flavor.
Honey Cake is truly unlike any other dessert. There’s a reason it is so impressive and usually only made for special occasions. It’s a labor of love worth celebrating!
Don’t be discouraged though; I definitely think you should try it. With both mental and physical prep, you totally got this!
Here are some things to keep in mind to ease the process:
Read the recipe first. Now do it again =) This is not your typical creaming method cake. Clear off your surfaces and gather equipment before getting started.
None of the steps are very difficult, but it will take some time. Once you get baking, it will feel easier. And remember, you only have two components to make.
Don’t forget the rest! You will have to set a block of time to bake all of the layers at once, so ideally this could be the night before you plan to serve. The cake needs at least a few hours to set up, but preferably overnight.
Feel free to change up the size. I went for smaller and taller, but you can try fewer layers that are 8 or 9-inches in diameter instead. Adjust bake time accordingly (6 to 8 minutes, or until brown).
Customize it! 15 layers is quite the cake. If it is getting too tall for your comfort level, even half the amount will still be impressive and delicious.
Scroll to the very bottom to find the printable .pdf version of this recipe!
Keep reading with a 7-day free trial
Subscribe to Tessa Huff's Bake Club to keep reading this post and get 7 days of free access to the full post archives.


