

Discover more from Style Sweet Bake Club
Author and Saveur finalist Amy Ho puts her whole heart into everything she does. Whether that be baking all of the annual NY Times Christmas Cookies until 4am the day they are released, making spectacular gingerbread mansions out of sugar glass, finishing her Master’s in psychology while writing love letters on her blog, Constellation Inspiration, or hunting down the very best croissant in the world, Amy travels to eat and bakes to create.
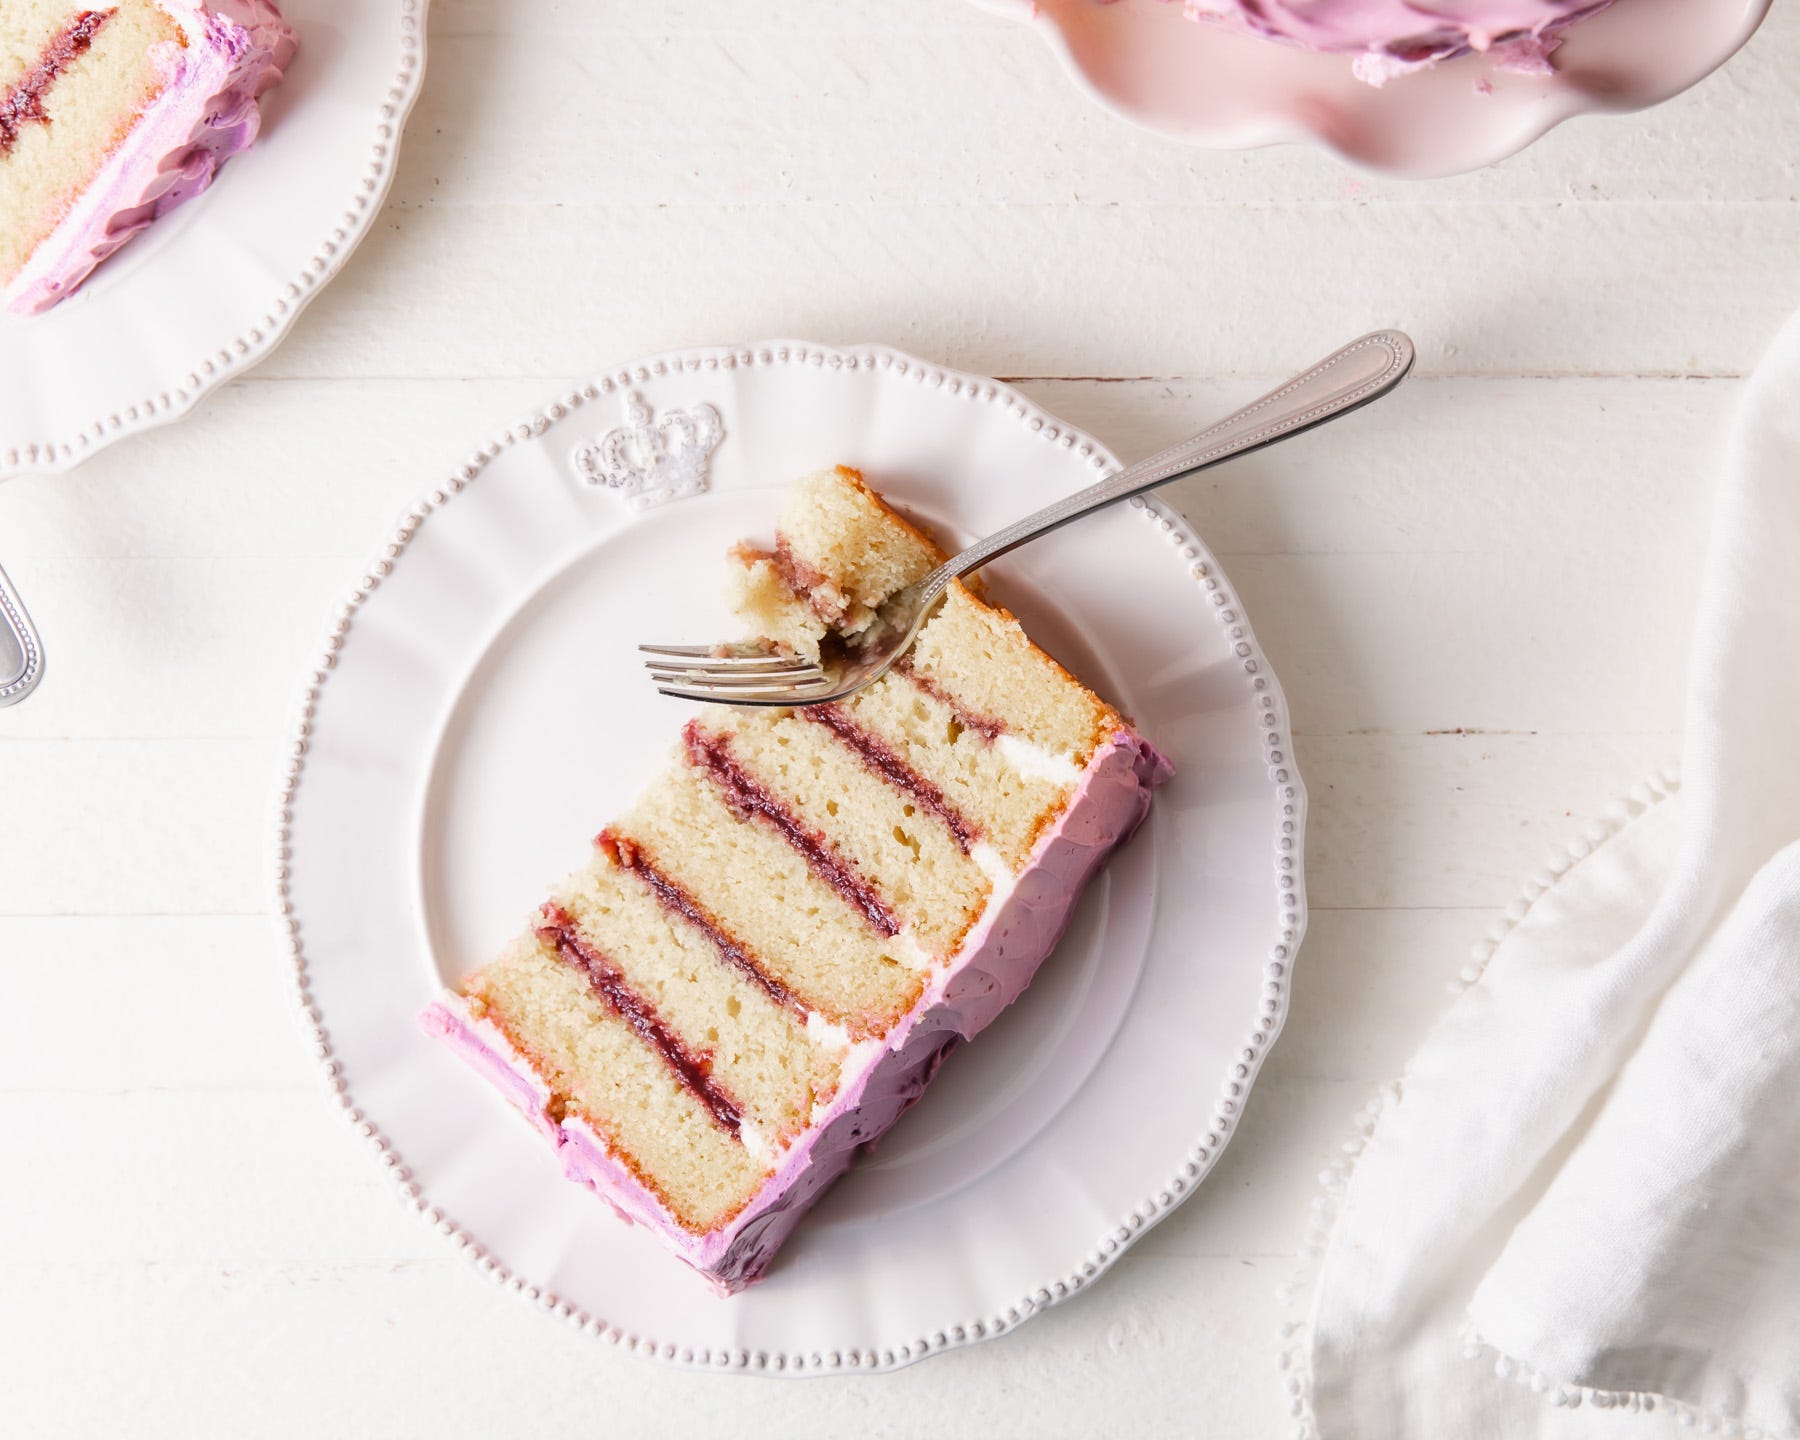
You might know her Matcha Neapolitan Sugar Cookies, but I first fell in love with Amy’s gorgeous layer cakes. Topping a rustic cake with a bouquet of flowers might look easy, but it is seriously an art that Amy has mastered so well. Everything she touches is beautiful (one reason I enlisted her skills when styling my own book, Icing on the Cake). But more importantly, she is kind, hilarious, and her bakes taste incredible too.
In Blooms and Baking, Amy teaches us how to add aromatic, floral flavors to cakes, cookies, candies, and more. The recipes use infused flavors like lilac and chamomile and incorporate cherry blossoms and hibiscus.
Adding floral elements to baked goods can be tricky. Add too much, and the whole thing can taste like soap. Thankfully, Amy perfected their delicate nuances and her recipes are exquisitely perfumed without being overpowering. In the book, you can find recipes for Rose Petal Shortbread, Whipped Cherry Blossom Ganache and Matcha Cream Puffs, Jasmine Mooncakes, an Elderflower Strawberry Buttermilk Cake, and more.
Amy lives in Vancouver, BC. Find her on Instagram. For more beautiful baking recipes, visit her website, Constellation Inspiration.
Tessa Huff: Why did you decide to write this book?Â
Amy Ho:Â I love baking and decorating with flowers and I wanted to share my passion for it in this book. A lot of people are nervous about incorporating floral flavours into baking and cooking, fearing that it would make the pastry or dish very 'soapy', but I wanted to share how floral elements can add so much nuance and flavours to classic baked goods like cakes, cookies, and more!
TH: Which recipe should readers try first? Or which has become a stand-out recipe with readers so far?
AH:Â The lavender earl grey sugar cookies for sure! They're a classic chewy sugar cookie with ground culinary lavender and earl grey tea incorporated in the dough. It's also a great dough for making ahead of time; it freezes really well!
TH: Can you name a must-have ingredient or signature flavor that you use in your recipes often? Or do you think there is special quality about your recipes or writing that readers can identify as being uniquely yours?
AH:Â Matcha! I love matcha-flavoured anything and I love to use it in my baking. I find that matcha pairs really nicely with a lot of floral flavours. You can find matcha in my cherry blossom cream puffs in the book! My most popular matcha recipe on my blog is my matcha neapolitan cookies.
TH: What keeps you inspired and creative in the kitchen?
AH:Â Being around (virtually these days!) other creative people. I love following along on the baking journey of others on Instagram and through their blogs. I also find that it's very important to take breaks when you feel overwhelmed or you're out of good ideas. Sometimes I catch myself baking for the sake of creating content for my blog (and getting really frustrated when something doesn't turn out) and forget that baking is supposed to be fun. Making recipes for fun, without the intention of blogging it, helps me get out of a baking rut.
TH: What were you listening to or reading at the time of writing this book?
AH:Â I'm a huge podcast person and some of my favourite podcasts that I listened to while working on the book included: The Dave Chang Show, Bon Appetit Foodcast, The Sporkful, and a few other food-related podcasts. I hate watching horror movies but I really enjoy listening to horror movie analyses, so you can catch me listening to the Dead Meat Podcast sometimes.
For music, I listened to a lot of indie and r&b, as well as 88Rising Radio on Spotify.
TH: Walk into a reader’s home and where can you find your book? Displayed on a coffee table, next to the bed for late-night studying, or splattered with batter in the kitchen? What is the main takeaway you want readers to get from your book?
AH:Â Displayed on the coffee table next to a vase of fresh flowers! I want readers to find the beauty of flowers in their everyday life.
TH: What is one important key to success for home bakers wanting to try new recipes?
AH:Â Let your butter come to room temperature and never forget to have fun :)
Blackberry Lavender Cake
Standing 6-layers tall, this Blackberry Lavender Cake is the perfect balance between sweet, tart, and floral flavors. Infusing aromatic, crushed lavender into the batter elevates this basic butter cake without making it taste too perfume-y or soapy.
In the book, Amy pairs her cake with lemon curd, but I went with jam since blackberry season is upon us. Painted with pink, lilac and lavender shades of silky Swiss meringue buttercream, this cake is perfect for any summer celebration.
- Tessa Huff
Ingredients:
3 cups (360 g) all-purpose flour
3 tablespoons cornstarch
1 tablespoon baking powder
1/2 teaspoon baking soda
1/2 teaspoon salt
1 cup (240 ml) whole milk
2/3 cup (160 g) sour cream
1 teaspoon pure vanilla extract
1 3/4 cups (350 g) granulated sugar
1/2 teaspoon dried culinary lavender
1 cup (227 g) unsalted butter, softened
3 large eggs
2 large egg yolks
Instructions:
Preheat the oven to 350°F. Grease three 6-inch cake pans and line the bottoms with parchment paper. Set aside.
Whisk together the flour, cornstarch, baking powder, baking soda, and salt. Set aside. In a separate bowl, whisk together the milk, sour cream, and vanilla. Set aside.
Grind down the lavender in a spice grinder. Alternatively, use a mortar and pestle to grind down the lavender with a tablespoon of sugar. Use a mesh sieve to sift out any large pieces of lavender.
Place the lavender, sugar, and butter in the bowl of a stand mixer fitted with a paddle attachment. Cream together the butter, lavender, and sugar until light and fluffy (about 3 minutes on medium speed).
Stop the mixer and scrape down the sides of the bowl. With the mixer on low, add the eggs and egg yolks - one at a time, allowing for each egg to be absorbed before adding the next. Stop the mixer and scrape down the bowl.
Add about half of the flour mixture and mix on low until combined. Stream in the milk mixture and mix until smooth. Add the remaining flour mixture and mix until the batter is combined.
Evenly distribute the batter between the prepared pans. Bake the cakes for 34 to 36 minutes, or until a toothpick inserted into the center of the cakes comes out clean. Cool the cakes on a wire rack for 15 minutes before removing the cakes from their pans. Continue to cool completely before filling and frosting the cakes.
To Assemble:
1 1/4 cups blackberry jam
Half batch of Swiss Meringue Buttercream
Once the cakes have completely cooled, slice them each in half horizontally. You will have 6 layers of cake. Place one layer of cake on a cake board or serving dish. Fill a piping bag fitted with a medium round tip (or use a plastic zip-top bag and snip the tip) with buttercream. Pipe a ring around the top edge of the cake. The ring should be 1/4 to 1/2-inch tall. The buttercream will act as a dam to keep the jam in and help adhere the layers together so they don’t slip and slide around.
Spoon about 1/4 cup of blackberry jam into the center of the cake. Spread with an offset spatula or the back of the spoon until smooth. The jam won’t completely fill the dam - that is okay. Top the blackberry jam with the next layer of cake and gently press down to secure. Some of the buttercream may squish out of the sides. As long as no jam has slipped out, then it is okay to continue.
Repeat with the remaining cake layers and jam.
Add a dollop of buttercream to the top of the cake and spread around. Frost the sides of the cake in a thin layer of buttercream to act as a crumb coat. Chill the cake for about 15 minutes.
To decorate, divide the remaining buttercream into three bowls. Tint the buttercream with gel food coloring and start icing the sides of the cake.
Working with one color at a time, swipe on the buttercream in a zigzag motion with the tip of an offset spatula. Continue by adding patches of buttercream, alternating the colors and direction of your spatula strokes. Continue until the sides of the cake are completely covered.
Once the sides are complete, clean up the top edge of the cake. Take the edge of an offset spatula and gently pull any excess frosting towards the center of the top of the cake. Repeat the zigzag motion on the top of the cake.
Serve the cake at room temperature. Leftovers may be loosely covered in plastic wrap and stored in the refrigerator for up to 4 days.