Let's Make an Ice Cream Cake!
Learn how to keep your chill when working with this frozen treat.
Hi Bakers!
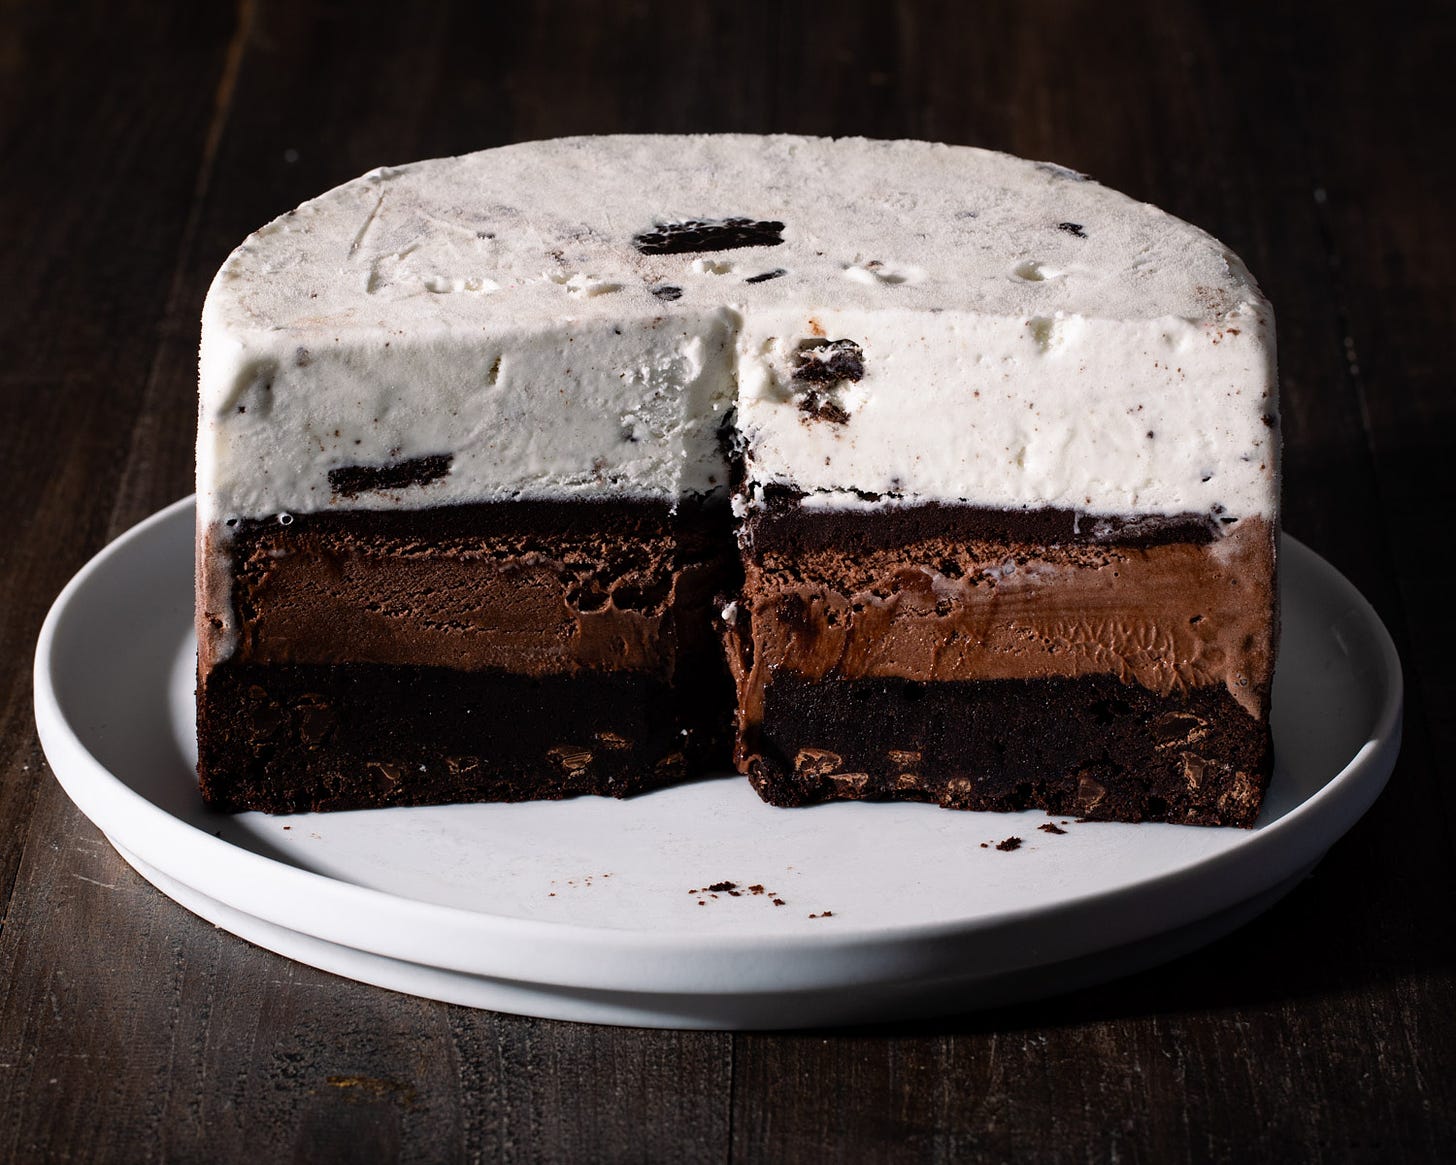
I have a special treat for you all today. I am sharing Everett’s Ice Cream Cake including an exclusive cocoa brownie recipe!
I remember frantically photographing an ice cream cake for my first cookbook, Layered, on the patio of our old apartment while pregnant with my son. 8 years later, I’ve learned that our covered balcony did not indeed provide optimal lighting for photos and that kids know best about ice cream cakes made with brownies and homemade hot fudge sauce.
My son turned 8 this week and asked for an ice cream cake. I was shocked and excited after years of exclusively chocolate cake requests, but also not at all surprised when he wanted it to have brownies and chocolate ice cream.
When it comes to ice cream, not all cakes are equal. Your favorite funfetti cake loses all fluff when frozen, as do most other layer cakes. Think about it - do you really want to eat frozen cake? Even as they thaw, they are bound to get soggy from the melted ice cream.
Brownies, however, are heavenly even when stored in the freezer. Their higher fat and sugar content keep them from fully freezing solid. Here, the brownie cake is dense, fudgy, and by far the more superior base for layers of ice cream.
Okay - so brownie, ice cream (store-bought is totally fine), some hot fudge, what could be so hard about an ice cream cake?
Assembling an ice cream cake is an art that will test your preparedness, mental strength, and time under pressure. Dramatic much? Maybe. But hopefully these tips will keep you from cursing rapidly melting puddles of cream and chocolate.
Fundamentals of Frozen Desserts:
1. Make a plan
Rewind at least a day before you plan to serve an ice cream cake. You will need to plan ample time to bake the base, make any required fillings, and assemble. The ice cream needs to thaw, be reformed in the correct size/vessel, frozen, then assembled and chilled before serving.
Thankfully, a lot of the time is hands-off, but it will require some backwards math to determine when to start. A finished ice cream cake can stay frozen for quite some time, so better to be early than late.
2. Clear some space
You will be transporting your frozen creation back-and-forth to the freezer over at least a day or two, so make sure you have space in the freezer. Better yet, clear a space and pop a rimmed baking sheet down. This will give you a flat surface and will catch any drips.
Depending on the temp of your kitchen and speed, the cake may be an architectural fiasco during assembly. The last thing you want is to play Tetris with boxes of chicken nuggets or frozen waffles as things are slipping and sliding.
3. Set up your pans
It is best to build your ice cream cake in a vessel that is the same size as your base. In this case, the brownie base is an 8-inch round, so I used two 8-inch round cake pans to help assemble the ice cream layers. A taller pan or a springform pan would be preferred, but I used basic cake pans.
Line the cake pans with plastic wrap. Use two long strips that criss-cross in the middle then fill with softened ice cream. You need enough overhang to wrap the top of the ice cream layer. Use this excess plastic to help pull the frozen ice cream layer out of the pan once set.
4. Slice it nice
The frozen layers will be different textures, so you need to give yourself plenty of space for slicing. Safety first! You do not want to be wielding a large kitchen knife trying to cut through several, varying degrees of frozen layers on a wonky surface.
Move the ice cream cake to a flat, large cutting board. Run the blade of a kitchen knife under hot water to heat the steel, dry, then slice the cake.
5. Garnish to serve
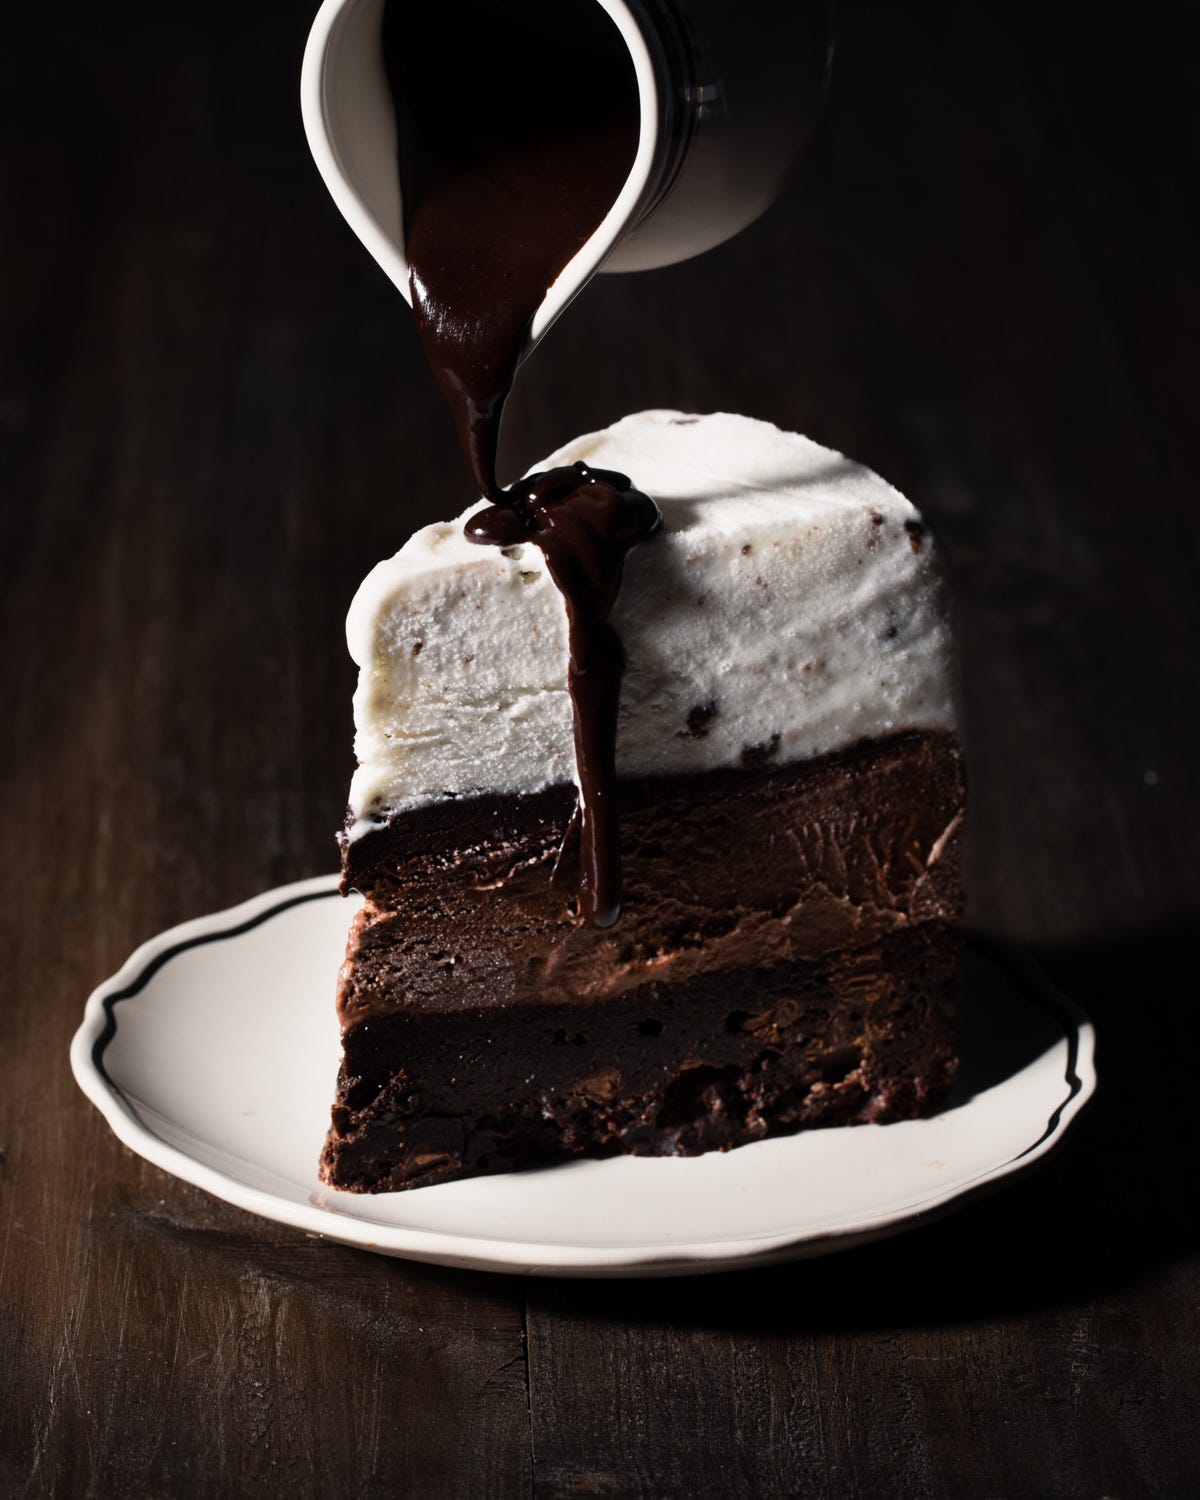
I considered pouring hot fudge over the top of the whole cake, like you might with chocolate ganache, but drizzling individual slices with the sauce proved much less stressful.
I recommend setting up a toppings station and allowing people to garnish their own slices, much like an ice cream sundae bar. If you are stuck slicing, a task in and of itself, then take some pressure off yourself with this DIY approach.
Other components to consider when designing your own:
1. Types of cakes and bases
As mentioned, brownies make an excellent base for ice cream cakes. If you are not into that much chocolate, consider a blondie over a typical layer cake. If you do pick cake as your base, thin layers of sponge cake would be best.
Alternatively, you could make a base of cookies or biscuits - crushed or whole - a la icebox cake.
2. Types of frozen filling
If you are considering different types of ice cream or frozen desserts, know that they will not all behave the same. The ice cream needs to be partially thawed then refrozen. Homemade ice creams typically don’t include all the emulsifiers and stabilizers as commercially made ice cream, so this may affect how it refreezes. Same goes for high-end ice creams.
However, if you are churning your own, then you do have more options for which shape and vessel to initially freeze it in.
Non-dairy alternatives vary wildly. Look for higher fat for better refreeze, like those made with coconut milk or cashews.
3. Types of garnishes and add-ins
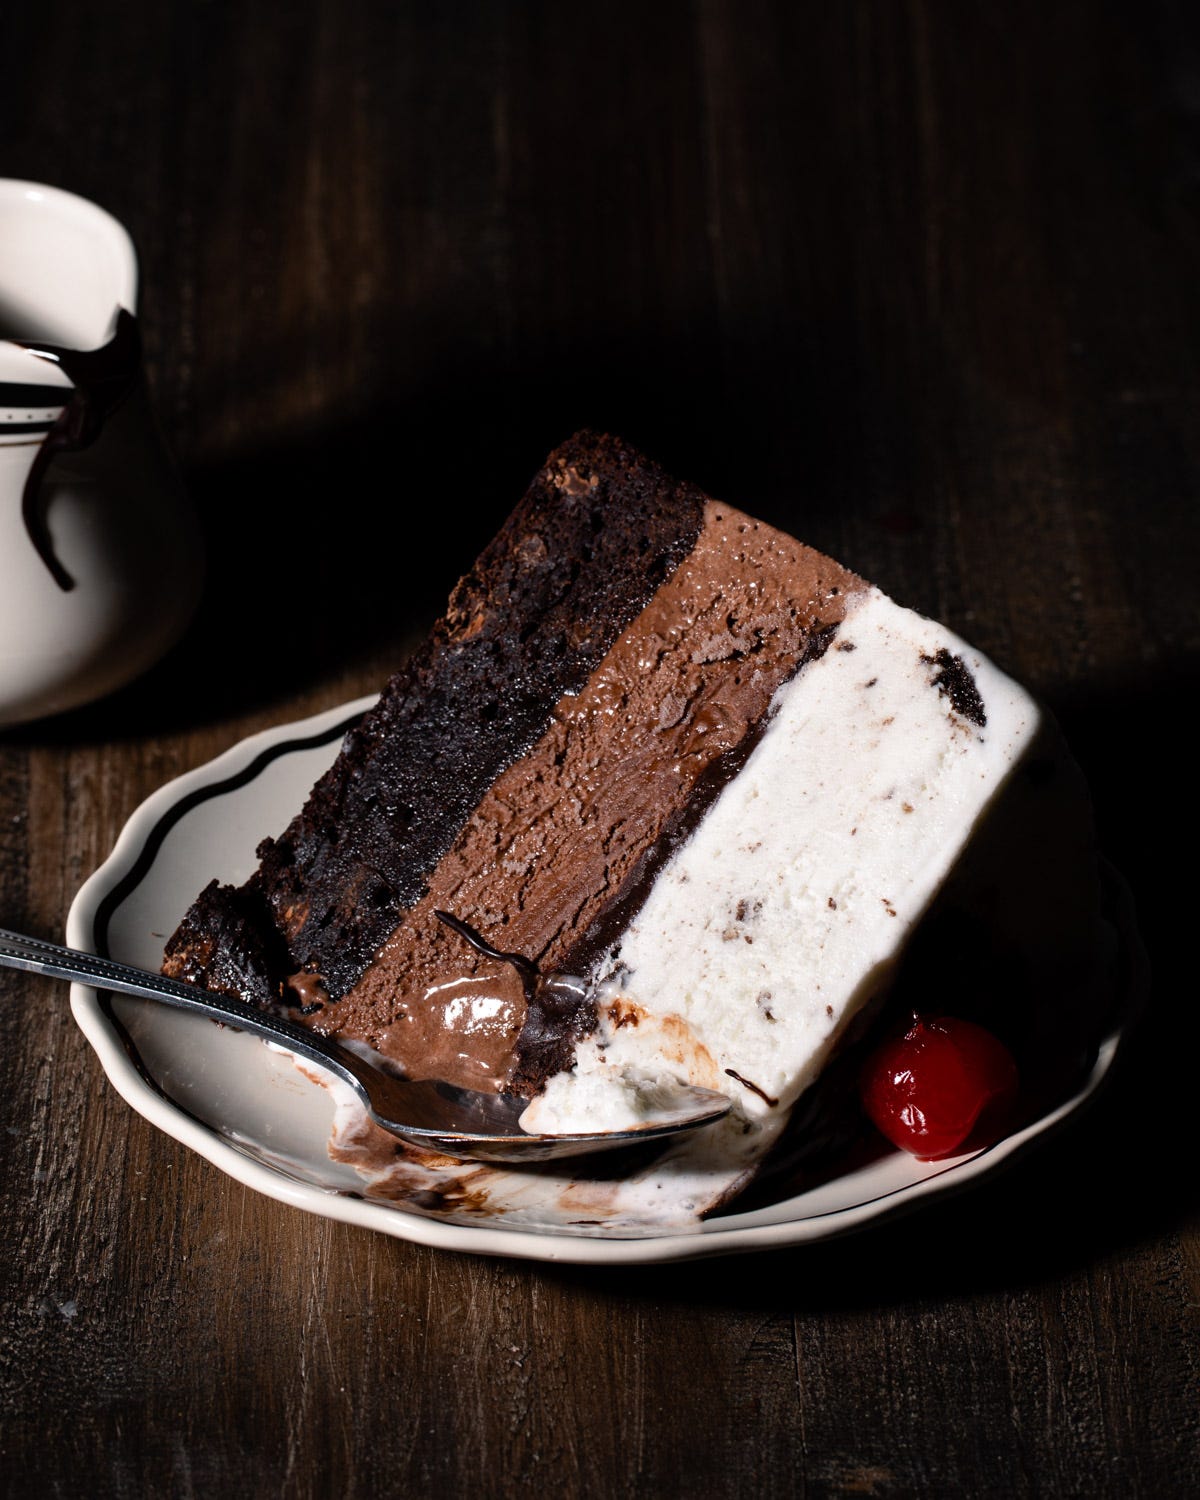
I love how the hot fudge layer turns thick and chewy in the freezer. Instead of a layer between ice creams, you could make a swirl by tucking in drizzles of fudge sauce as you scoop the ice cream in the cake pans.
This could also work with jam, caramel, or fruit toppings. Think about layering the filling within the ice cream rather than actually swirling it through.
For toppings, anything at an ice cream sundae bar is fair game. However, unless you want to feel like your 8 year old called all the shots himself, then maybe stick to just a few components.
I recommend garnishes of varying textures - some homemade and some store-bought. Think peanut brittle, sprinkles, maraschino cherries, etc. I love caramel sauce, but not as much as how this warm chocolate sauce hits the frozen ice cream and turns fudgy.
Now on to the recipe…
Keep reading with a 7-day free trial
Subscribe to Tessa Huff's Bake Club to keep reading this post and get 7 days of free access to the full post archives.


