Hi Bakers!
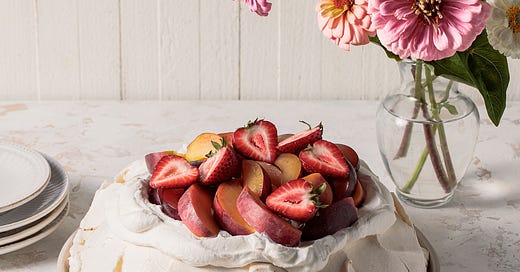
Pavlova is a family favorite, so we often serve it throughout the year for various celebrations. I made this Peach Pavlova for my dad this past Father’s Day, and I declare it literally the best way to eat juicy, sweet peaches from now on.
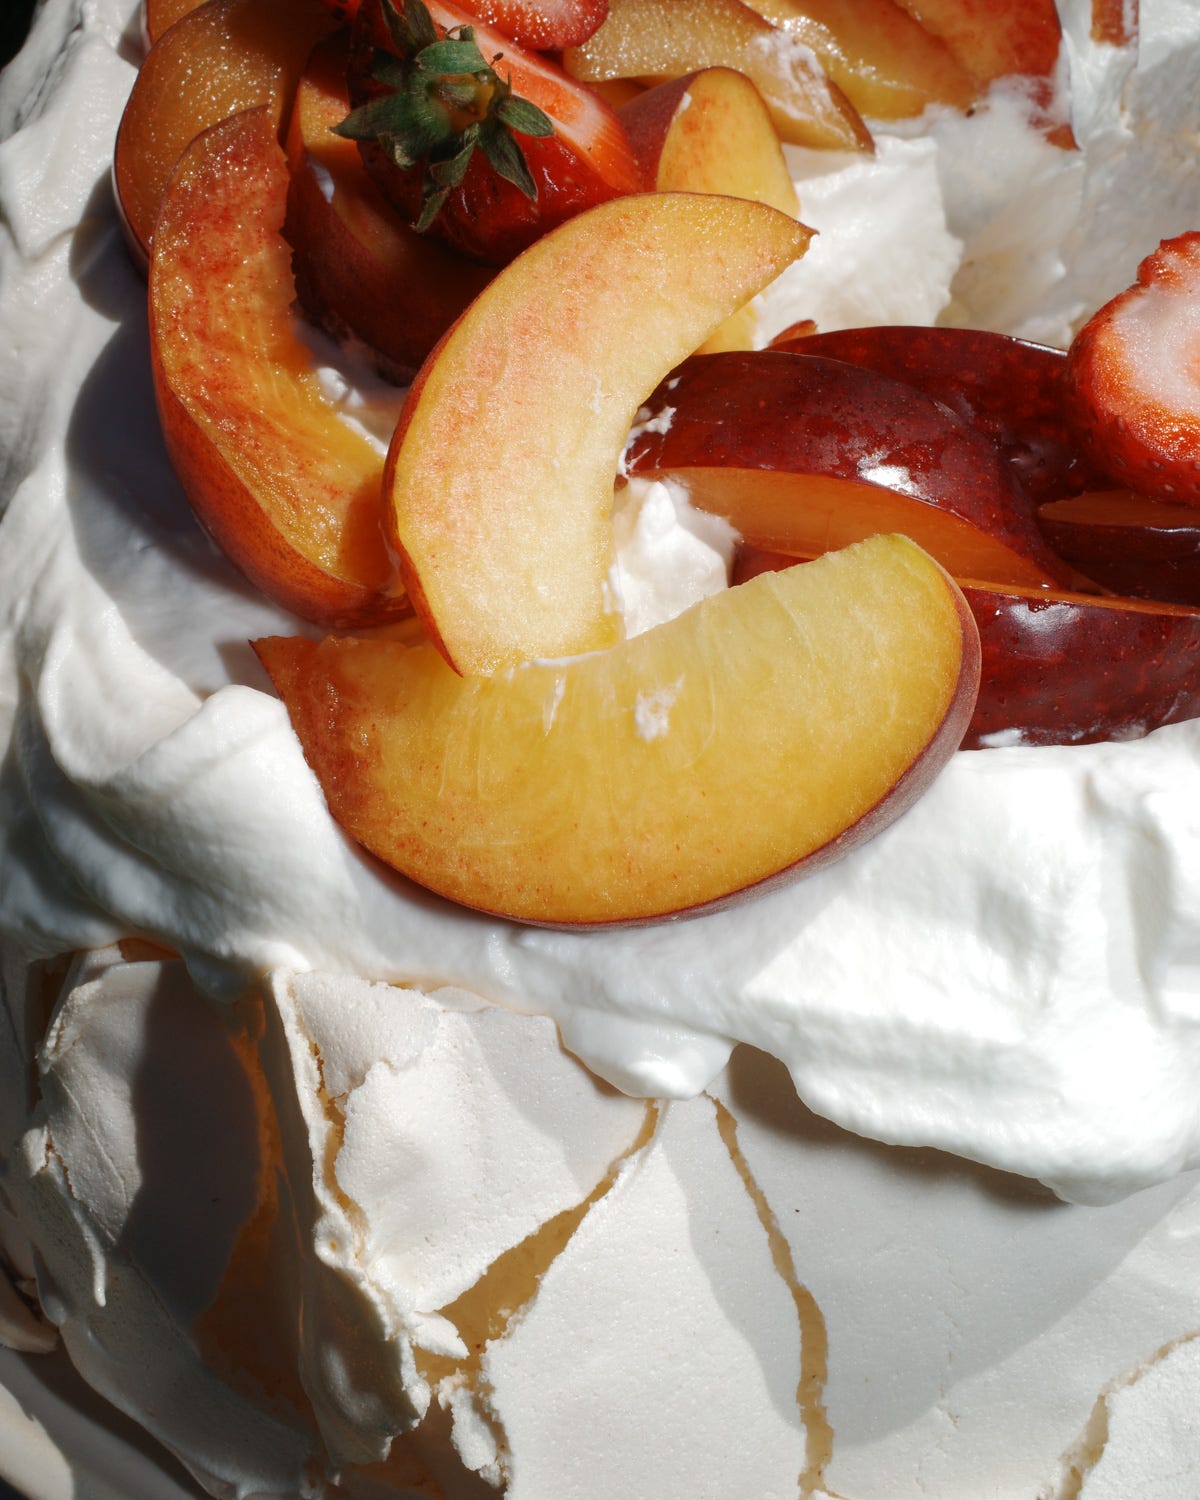
Peaches ‘n cream is such a classic duo - baked in a cake with pouring custard or as cobbler with ice cream that melts into the cracks. Peach season is pretty short over here, and it’s a crime to eat ripe and ready peaches other than straight up fresh. So what do you get when you take fresh peach slices with clouds of cream and crispy meringue? My new favorite dessert. You are going to love this combo!
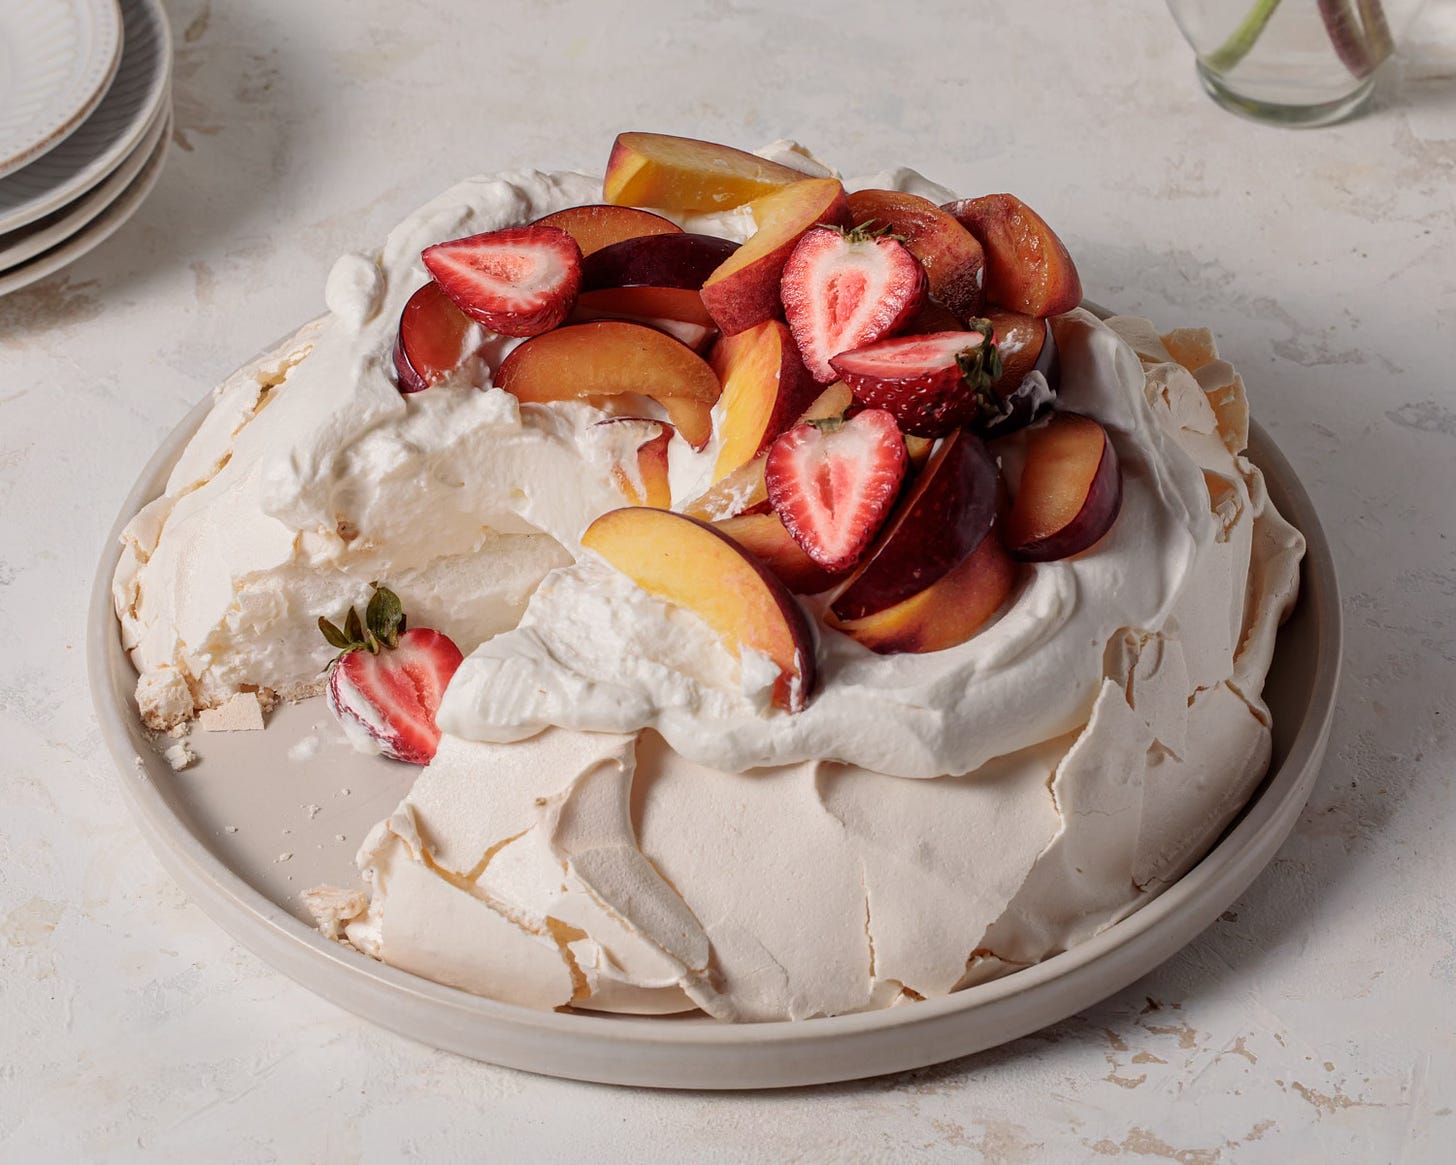
Pavlova is a big, baked meringue filled with whipped cream and topped with fresh fruit. The arguably Australian dessert (some say its origins are from New Zealand) is named after ballerina Anna Pavlova. The textures dance in your mouth with each bite - crisp, soft, creamy, and fresh.
The meringue “bowl” bakes up crisp on the outside with a soft, marshmallow-like texture on the inside. Typically it is filled with sweetened whipped cream, but you could get away with adding most anything - lemon curd, pastry cream, chocolate crémeux, peanut butter mousse, etc.
You’ve probably seen pavlovas in all shapes and sizes. Some with swooping sides, others that are delicately piped, as well as more rustic, free-form ones. The shape of the pavlova largely determines its texture. Squatty pavlovas or slab pavlovas are going to be flatter and chewier while taller, volcanic-shaped pavlovas will have that more marshmallowy center.
If you go big and tall, make sure to hollow out the center with the back of a spoon. Not only does this help the pavlova bake more evenly, it allows for plenty of cream and fruit to fill the center. I really don’t understand pavlovas baked with a flat top. Where is all the luscious filling supposed to go?
What is one of the best summer desserts? And why is it pavlova? Let me tell you why…
Low Oven Temp
Worried about making it even HOTTER this summer? Don’t worry, the meringue for pavlova bakes in a very low 225°F oven that won’t heat up your kitchen.
Bake It and Forget It
Bake the meringue low and slow, then forget it. It takes 60 to 90 minutes for the outside to crisp up. From there, turn the oven off and leave it until ready to serve. If you are able, storing the baked pavlova in the oven is a great way to keep the humidity away too.
Quick Assembly
After the meringue is baked, the rest takes just minutes to put together. You can easily whip up some sweetened cream between courses at a dinner party and pile it together without guests missing a beat. Or pack separately to a potluck, stacking the components, 1-2-3, just before serving.
Any Fruit
You know my pick is for peaches, but literally any seasonal fruit you have available is good here. Pile on a mountain of fresh berries, slice up some kiwi, or poach a couple pears.
My Top Tips
Add an Acid
Add vinegar or cream of tartar to help expand and stabilize the whipped egg whites for the most voluminous meringue.
Low and Slow
Trouble with weeping meringue? It’s probably because the sugar is undissolved. To build a better meringue, add the sugar low and slow. Keep the mixer on medium-low speed and spoon the sugar in just a little bit at time.
It will feel like it's taking a lot longer than it should, but to add the whole cup of sugar should take 1 to 2 minutes. About halfway through, bump up the speed to medium. You can also use caster sugar, but still go slow.
Cornstarch
I’ve read that cornstarch helps keep pavlova soft, and my results seem to support this statement. I don’t use it when making smaller meringues, but if you are going for those marshmallow centers, don’t skip the cornstarch.
Things We Don’t Need to Worry About
Slight Browning
Some ovens run a little warm, so don’t worry if your pavlova isn’t stark white. You can always lower the temperature if it is browning too much.
Cracking
A bit of cracking is the casualty of a crispy exterior. It happens and it’s totally okay!
Even Slices
You know that feeling when you are standing over a finished dessert, knife in hand, thinking “Now what”? Well there is no expert way to slice and serve a pavlova, so don’t stress. Use the tip of the knife to nudge the fruit around and slice like a pie.
Keep reading with a 7-day free trial
Subscribe to Tessa Huff's Bake Club to keep reading this post and get 7 days of free access to the full post archives.


