

Discover more from Style Sweet Bake Club
Hi Bakers!
Have you ever wanted to take photos that look as amazing as your food tastes? Are your cakes beautiful IRL but don’t translate to the screen? Whether you are a home baker, food blogger, bakery owner, or an aspiring photographer, I think you will find this new series on food photography helpful.
Today I want to talk about light. More specifically, I want to show you how the direction of light relative to your subject can change the overall look and feel of an image.
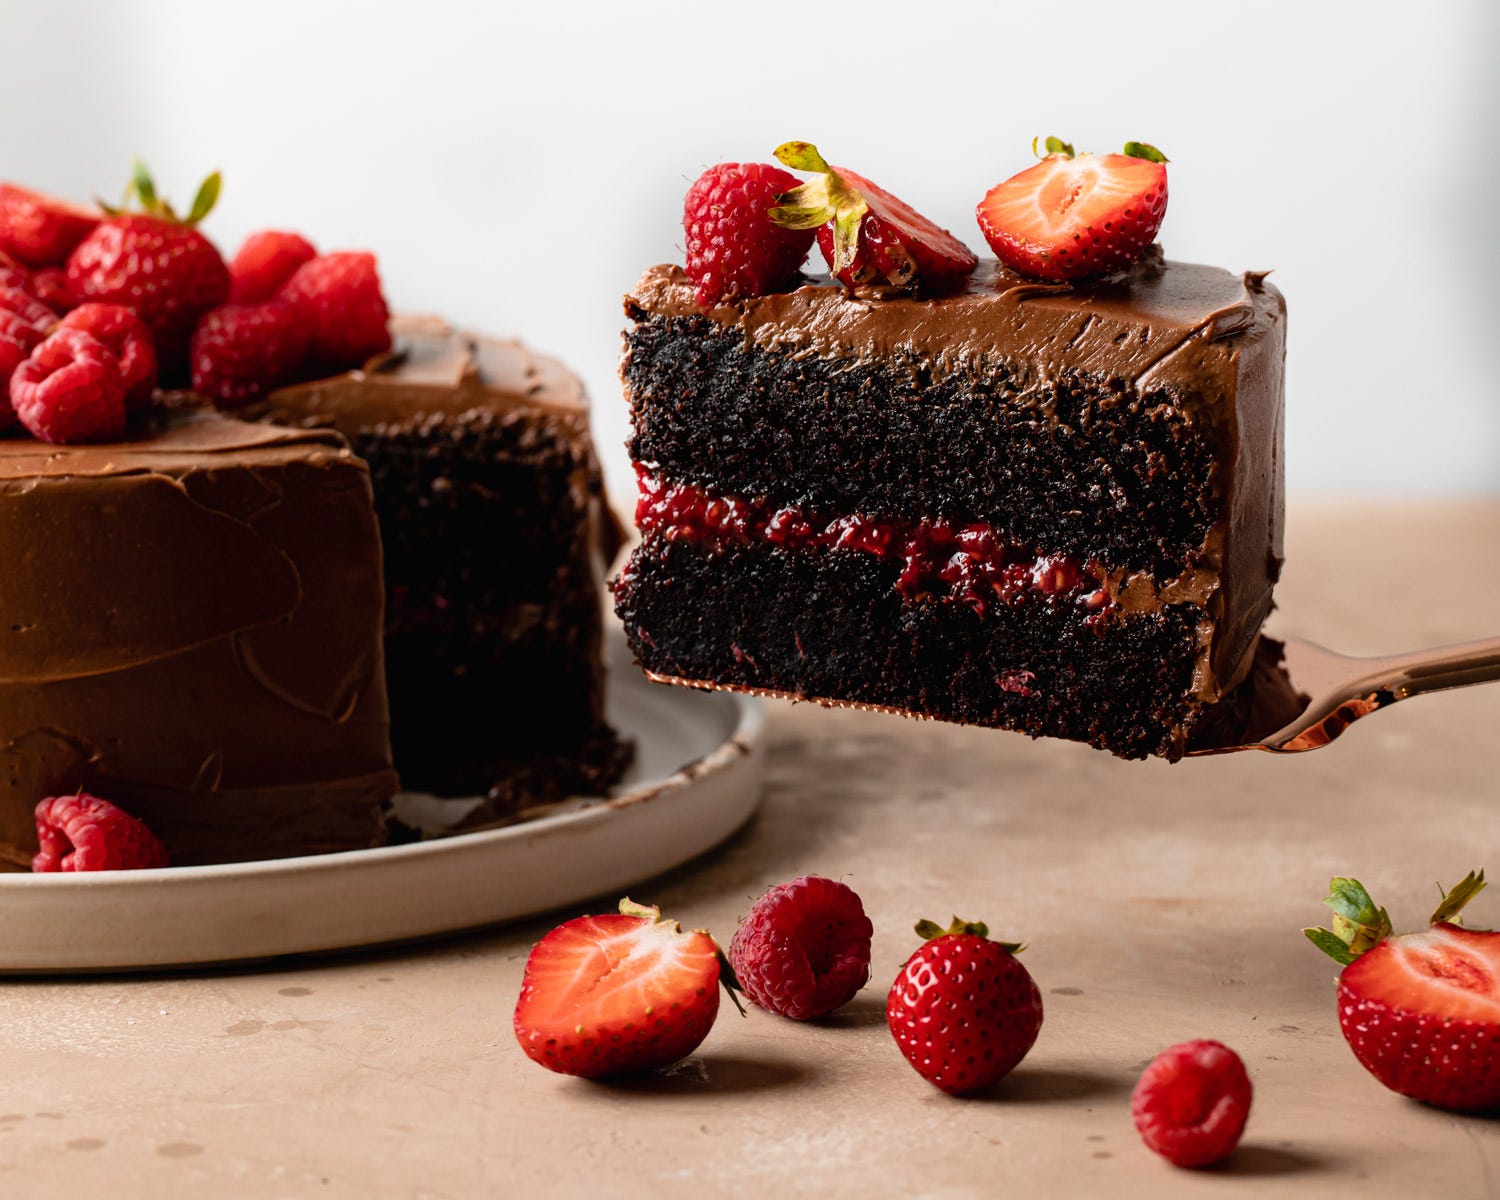
To start, let’s observe the following images. In all three photos, the chocolate cake and position of the camera both stayed exactly the same. The only thing that changed was the light source - a flash that I physically moved around the cake for each shot:
What did you notice?
Look at how the light bounces off the glossy glaze.
Did you notice how the light coming from behind travels through parts of the raspberries? And how these shadows fall on the front of the cake?
Do you see how the details on the raspberries are more prominent with the light coming from the side?
Did any of the images make you feel a certain way?
Often there is no one correct answer for where the light should be placed, but in any case, the lighting should be intentional. These intentional decisions about light will need to be made whether you are using natural or artificial light.
Let’s take a closer look at some of the more popular lighting positions for photographing food:
Side Light
Side light is universally flattering no matter which angle the photo is shot at (overhead, 3/4 or straight on). It works particularly well with shapely subjects shot straight on (like a layer cake or stack of cookies) where you want to show off its profile.
Side light means the subject is placed to the side of the light source. This is likely the easiest set up to master.
Here, the cake is evenly lit, resulting in subtle shadows and an overall airy feel.
Backlight
Backlit photos are taken when the light source is positioned behind the subject. The camera can be place over-head, at a 3/4 angle, or in front of the subject
Backlight can be both soft and dramatic. Light wraps around its subject - softly hugging the curves and shapes of the objects in the frame.
Backlight is reflective. It skims the surface of liquids and glazes to make them shine. With backlighting, the details are magnified. This can be seen as both positive and negative - either highlighting the details and textures or exaggerating imperfections.
In the first image, the back light skims across the surface of the panna cottas. Light is reflected through the glassware and bounces off the raspberry sauce.
In the second image, side light gives the raspberries a rich, dramatic look.
Partial Backlight
With the light positioned in the top corner of the image, partial backlighting is very flattering to the subject. It offers a less severe option than true backlighting while still picking up on all the lovely details.Â
Paired with a 3/4 angle view, the emphasis is on the top of the subject while the back and foreground get beautifully hazy.
Here, the more important details are on the top of the cake and are highlighted with the light coming in at an angle. A cake with designs on the sides (like the lemon blueberry cake above) would not necessarily benefit from a similar setup since it puts the front details in the shadow of the cake.
Can’t tell where the light is coming from? The answer is in the shadows. For images lit with a single light source, the shadows are opposite the light source.
Let me know what lighting setup you prefer in the comments!
Photo Friday: Direction of Light
Tessa thank you! I really appreciate this post. Could you recommend some small scale back drop options? The poster board isn’t cutting it for me anymore lol!