Vanilla Macarons
Learn to make the perfect spring treat with tips, tricks, and a video tutorial!
Hi Bakers!
I spotted my first French macaron in a Paris train station at age 15. I didn’t really know what they were, but they sure were beautiful. Rows of rainbow-colored shells all lined up, ready to be plucked out and placed in a narrow pastry box. Another 15 years later, and I landed myself in the tiny kitchen of a patisserie churning out trays and trays of macarons for months.
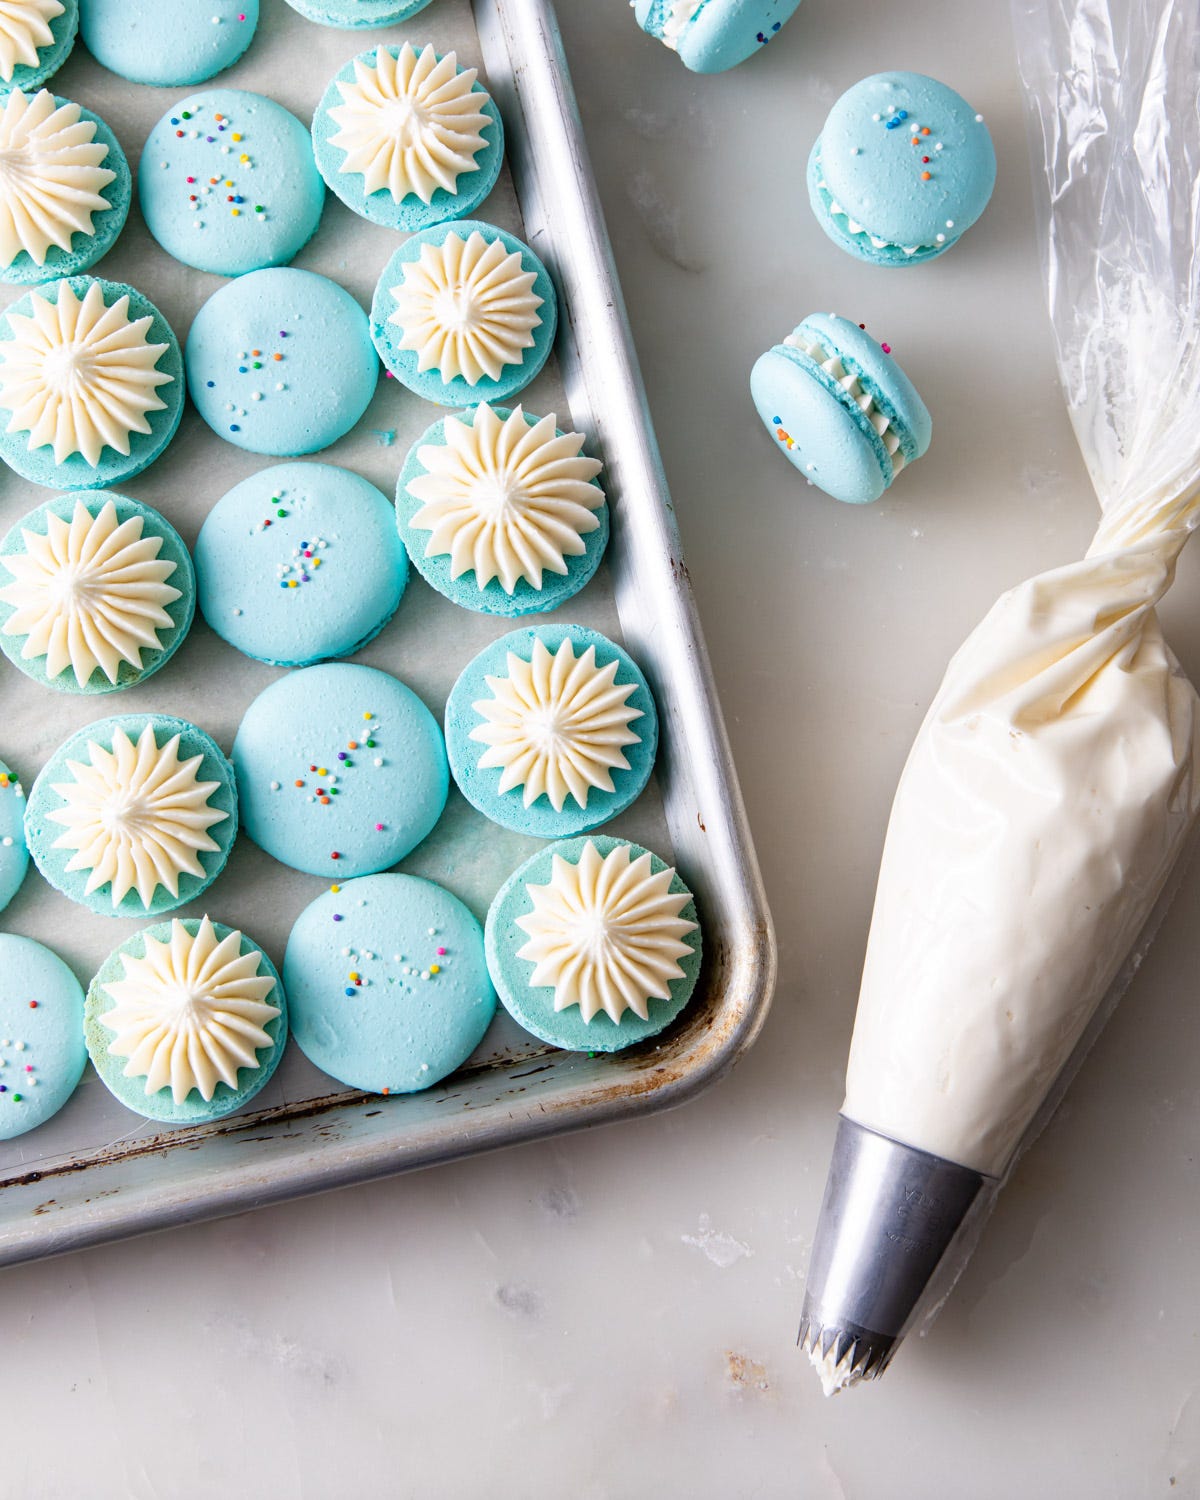
These petite pastries are crisp on the outside, chewy in the middle, and come in an array of colors and fillings. Displayed in patisserie windows, arranged in neat rows or stacked into towers, their popularity has taken them from Paris to bakeries and even grocery stores around the world. And now to your own kitchen!
The allure of the macaron is real. They are cute, colorful, dainty, and delicious. Their texture is unlike anything else that you will ever experience. And if you’ve ever tried your hand at making them yourself, then you’ll appreciate the macaron for its pure perfection on an entirely different level.
Yup, they take some serious skill, but I am here to help demystify the macaron so you too can make them at home. Macaron shells are made from almond flour and meringue (they are naturally gluten-free!). This recipe uses the Italian meringue method. Heating the whipped egg whites with a hot sugar syrup might seem scary at first, but it creates a more stable meringue that is easier to work with.
Remember, the techniques for making macarons take practice. But, you don’t have to have flawless technique to still have fun and bake delicious macarons! Unless they are burnt to a crisp, they will still likely taste good even if they aren’t technically perfect on the first try.
If you’re joining us today and haven’t yet subscribed…
Check out this video tutorial and if you have any questions drop them in the comments below:
Equipment and Tools:
Baking sheets - Select sturdy, aluminum (not dark or nonstick) baking sheets. If using thin baking sheets, have enough to double up and bake the macarons on two stacked on top of each other.
Silicone baking mats or parchment paper - Nonstick silicone baking mats are reusable and nearly guarantee a clean release once the macarons are baked and cooled. Certain brands of parchment paper wrinkle and produce misshaped shells.
Piping Bags - Use a large piping bag. Disposable and reusable canvas piping bags both work here.
Round Piping Tip - I prefer to pipe macarons with a large piping tip, about 1/2-inch in diameter. A smaller round tip (#12) would work as well.
Kitchen Scale - The measurements need to be precise when making macarons, and I always use a kitchen scale to measure out ingredients. Use a scale especially when weighing egg whites.
Food Processor - Grinding the almond flour and confectioners’ sugar together will produce macarons with smooth tops. Alternatively, you can buy super fine almond flour (sift with a fine mesh sieve).
Mesh Sieve - Sift almond flour and confectioners’ sugar with a mesh sieve to make sure there are no clumps before preparing the macaron batter.
Large mixing bowl - Use the largest mixing bowl you have to fold the batter to help prevent overmixing.
Stand Mixer - A stand mixer is highly recommend when making the Italian meringue. You may try a hand mixer, but be extra careful when pouring in the hot sugar syrup (or enlist a second set of hands to help).
Candy Thermometer - You will need a candy thermometer for the sugar syrup. Alternately, test for soft ball stage before proceeding with the Italian meringue.
Large Rubber Spatula - Use a large rubber spatula during the macaronage process. A plastic bench scraper works well too.
Oven Thermometer - An inexpensive oven thermometer will let you know if your oven is heating to the correct temperature or not. Adjust accordingly.
Terminology:
Macaronage - The process in which the meringue and almond flour are folded and combined together into the macaron batter.
Feet - The ruffle that develops at the base of each baked macaron shell.
Vanilla Macarons
(makes 30 to 36 macarons)
The Ingredients:
1 ¼ cups (145 g) almond flour
1 cup + 3 tablespoons (145 g) confectioners’ sugar
105 grams egg whites (from 3 to 4 fresh eggs), divided
⅔ cup + 1 tablespoons (145 g) granulated sugar
¼ cup water
Gel food coloring
The Method:
Line two to three baking sheets with non-stick silicone baking mats or parchment paper and set aside. Fit a large piping bag with a round tip, ¼ to ½-inch wide in diameter, and set aside.
Place the almond flour and confectioners’ sugar in a food processor. Grind until fine, 30 to 60 seconds. Using a fine mesh sieve, sift the almond flour mixture into a large mixing bowl. Press any clumps through the sieve with a rubber spatula. Discard any remaining clumps. If more than a few tablespoons of almond flour remains and cannot be pressed through, remix it in the food processor then proceed.
Make the Meringue:
Place the granulated sugar and water in a saucepan and gently swirl together. Heat the sugar mixture on the stove over high heat. Without stirring, bring the sugar mixture to a boil. Keep boiling until the sugar syrup reaches 238°F on a candy thermometer, or soft ball stage.
Meanwhile, place half of the egg whites (about 52-53 grams) in the bowl of a stand mixer fitted with a whisk attachment. Once the sugar syrup reaches 230°F, begin whipping the egg whites on medium-high speed until they turn white and hold soft peaks - like wispy clouds.
Once the sugar syrup reaches 238°F and the egg whites are whipped to soft peaks, very carefully pour the sugar syrup into the egg whites with the mixer running on high speed. Pour the hot syrup in a steady stream - not too slow that it dribbles and spills, and not too quickly that you lose control or shock the delicate egg whites. Do not touch the sugar syrup - it is very hot and will burn your skin.
After the sugar syrup has been added to the egg whites, continue to whisk on high speed until stiff peaks form and the meringue returns back to room temperature, 6 to 8 minutes. For single-colored macarons, add gel food coloring to the meringue during the last minute of mixing.
Meanwhile, add the remaining egg whites (about 52-53 grams) to the sifted almond flour mixture. Stir the ingredients together with a rubber spatula until the mixture turns into a paste. Press and smear the paste against the side of the bowl to remove lumps.
Macaronage:
Add about ⅓ of the meringue to the almond mixture and mix until they just start to combine. You don’t need to be as delicate here. Stop before the two mixtures are fully combined.
Scrape out the remaining meringue and add it to the almond mixture. Use a large rubber spatula to fold the batter together. To fold, slide the spatula down the side of the bowl until it reaches the bottom then scoop up the mixture and turn it over on itself - bringing the batter from the bottom of the bowl to top. Rotate the bowl 90° and repeat.
Continue folding the batter until it is smooth, thick, and flows slow and steady. Do not over mix. As you fold, smear some of the batter against the side of the bowl to knock out some of the air and smooth out any lumps. Periodically scrape down the sides and bottom of the bowl to make sure there are no pockets of unincorporated almond flour hiding at the bottom.
This is the most important step of making macarons. The goal is to fold the mixture together until smooth while using as few folds as possible. Go slow, do not stir, and use deliberate, confident folds. If you are new to making macarons, take the time to evaluate your batter between every few folds. It is crucial that you stop mixing once the batter hits the correct consistency. The batter is done mixing when you can lift up a small portion with the spatula and slowly wave it back and forth, like a ribbon, without it breaking. The “ribbon” should melt back into the batter in about 30 seconds.
Pipe, Tap, and Rest:
Fill the prepared piping bag with the macaron batter. Holding the bag straight down, pipe small, uniform mounds on the lined baking sheets. The macarons should be 1 to 1 ½-inches in diameter, piped about an inch apart.
Hover the piping bag above the baking pan as you pipe so the batter has room to escape the tip. At the end, release the pressure on the piping bag and give it a tiny swirl with a flick of the wrist to release the batter from the piping bag. Continue to pipe one full baking sheet at a time.
After one full baking sheet is piped, it is time to tap the bottom of the pan. This releases any trapped air bubbles and helps any peaks left from piping settle flat. Tap the bottom of the pan against your work surface a few times. Alternatively, pick up the baking sheet and tap the bottom of the pan with an open hand, rotating around until each corner gets a good whack (this is my preferred method). Keep tapping until the macarons are smooth on top (if they are already very smooth, then only tap the pan a couple times - this means your batter is likely overmixed and you will want to keep them from spreading as much as possible).
Continue piping with the remaining batter.
Preheat the oven to 325°F and set the piped macarons aside to rest. Rest the macarons until a skin forms on their tops, 20 to 45 minutes. They are ready to bake once the oven is preheated and the tops are dry and not sticky when gently touched with a finger.
Bake:
Bake one baking sheet at a time (or two small sheets, if they fit on the same rack) for 12 to 14 minutes. The macarons are done when they barely wiggle. To test, gently poke the top of the macaron, if it moves slightly but still feels attached to its “feet,” then it is done.
Cool macarons completely on their baking sheets set over a wire cooling rack. Do not peel the macarons off the silicone mat or parchment paper until they are cool because the bottoms of the shells may tear off.
Vanilla Buttercream
The Ingredients:
½ cup (113 grams) unsalted butter, softened
1 ½ to 2 cups (188 to 210g) confectioners’ sugar
2 teaspoon pure vanilla extract
1 to 2 tablespoons milk, as needed
The Method:
Place the softened butter in a stand mixer fitted with a paddle attachment, or in bowl with a hand mixer, and mix on medium-low until creamy. Stop the mixer and add about half of the sugar. Mix on low speed until combined.
Gradually add in the remaining ingredients until incorporated, then turn the mixer up to medium-high speed. Mix on medium-high speed until light and fluffy, 2 to 4 minutes.
Add more sugar and/or milk until the desired consistency is achieved. When done, the buttercream should be soft and fluffy, not stiff nor runny.
To Assemble:
Find similarly sized shells and set them down in pairs on a clean baking sheet, one shell facing up and the other facing down. Pipe the vanilla buttercream on the bottom shells, leaving a very small border around the edge. Place the matching shells on top of the filling and gently sandwich together until the buttercream presses out to the edges of the feet.
Baker’s Notes:
If I start whipping my egg whites when the sugar syrup reaches 230°F, the whites become perfect soft peaks as the syrup hits the necessary 238°F. If your egg whites are not yet soft peaks and don’t look like wispy clouds, remove the sugar syrup from the heat and wait until the whites whip a little longer before pouring in the syrup. The syrup can wait a couple minutes, but not indefinitely, so don’t forget to whip your egg whites as the syrup boils.
If your eggs reach soft peaks before the sugar syrup reaches 238°F, stop the mixer or turn it down to the lowest speed until the sugar syrup is ready.
Serving and Storage:
Serve the macarons at room temperature. Store them in an air-tight container at room temperature overnight. If you’re planning to eat the macarons more than one day after assembly, store in an airtight container in the refrigerator.
The shells are fragile, so take care when storing and do not tightly pack them into the container.
Some recipes recommend that the macarons “mature” before serving. This means they are stored in the refrigerator overnight before serving. In this case, the filling has a chance to soften the shells. If the shells accidentally get over-baked, then I recommend maturing the macarons for better texture, but it is not necessary otherwise.
I’ve seen ice cream sandwiches made with macaron shells. That would be a high goal for me.