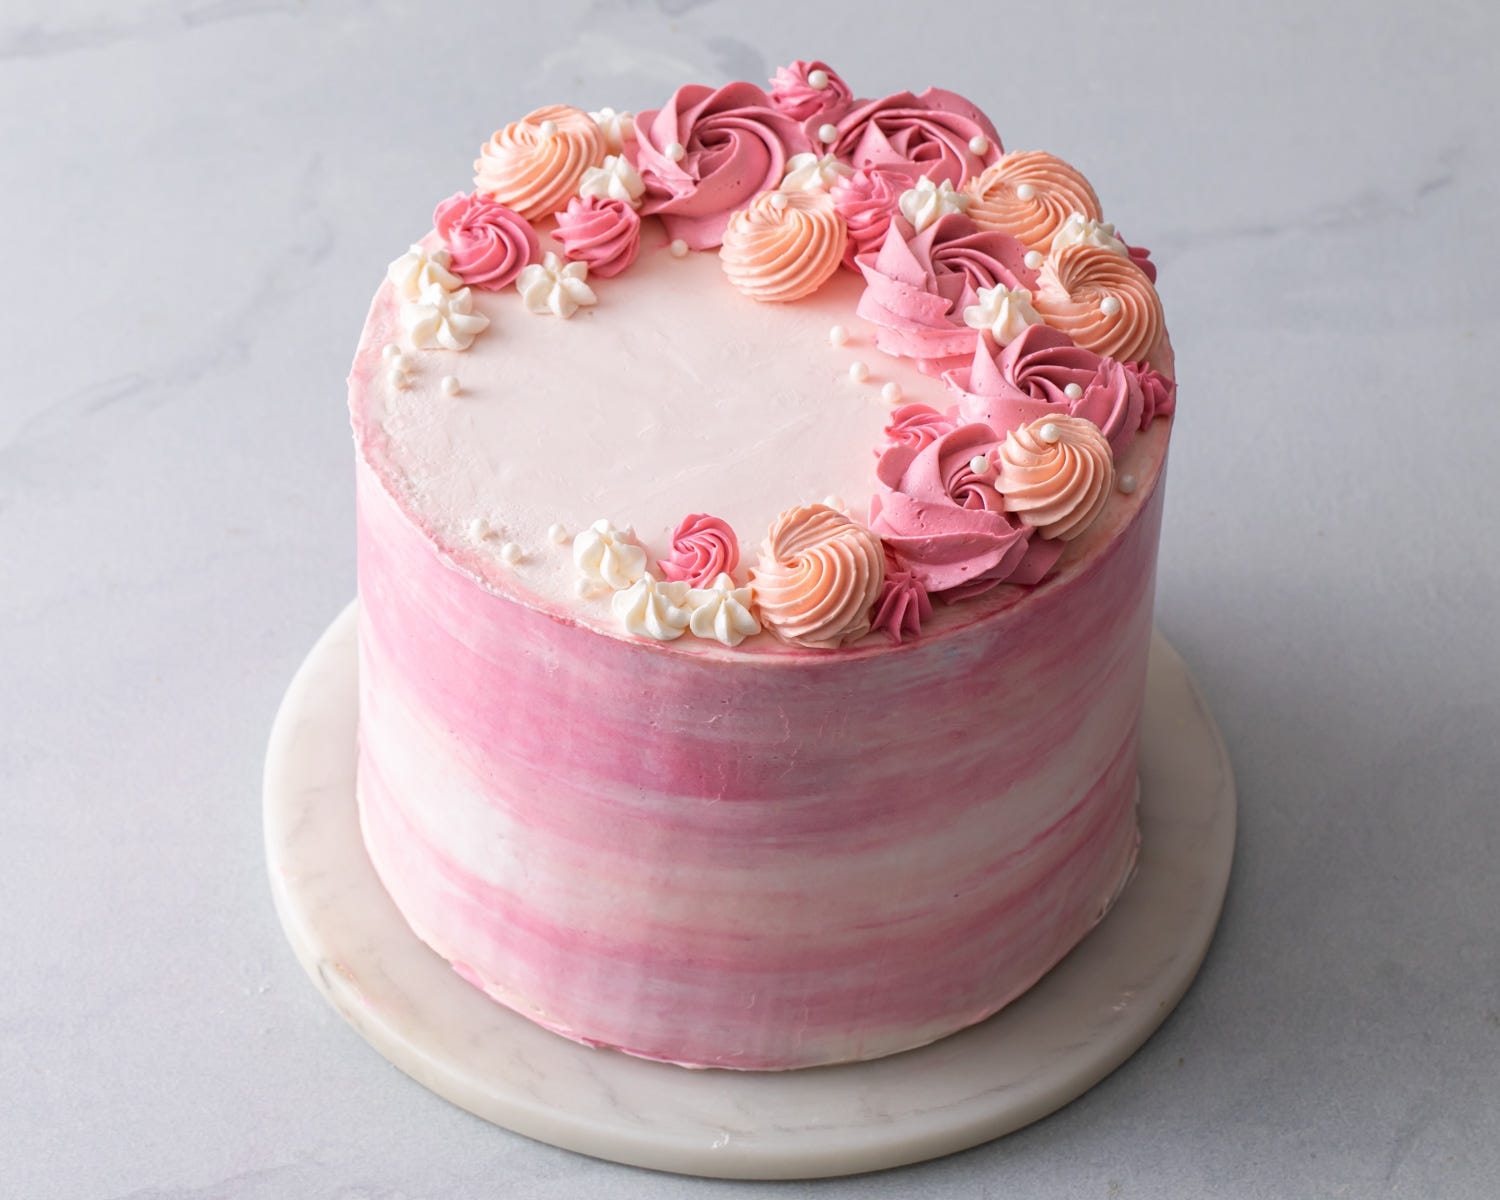
Hi Bakers!
I’ve been making and teaching how to create my signature watercolor cake for several years now, and it is still one of my favorite designs.
I love this design for so many reasons. One of the biggest is how different each cake turns out. The way the colors blend together organically means each cake is nearly impossible to replicate or “mess up.” When I’ve taught this design in person, it is amazing to see the students’ different colors and buttercream swirls lined up after class - all as beautiful and unique as the next.
Whether you are a beginner or veteran cake decorator, I also love this this design because it gets the most bang for its buck, so to speak. For the watercolor effect, you will use the same techniques and tools as you would for frosting a smooth cake. By simply changing the colors and intensity, the effect can be easily customized and is effortlessly versatile to create celebration cakes for all occasions.
Tools:
Rotating cake stand
Offset spatula
Gel food coloring
Icing smoother
Paring knife
Piping tips and bag
Snag links to all my favorite cake decorating tools here!
How to Make a Watercolor Cake
Before you get started, fill and stack your cake layers. Give the cake a good crumb coat, a thin layer of icing that traps in all of the crumbs, and chill it in the refrigerator for 15 minutes.
1. Pick Your Colors
Select your color palette. In addition to plain white (or a pale pink, in this case), I typically pick 2 to 3 secondary colors that are near each other on the color wheel. For a 6-inch round cake, tint about 2 cups of buttercream for the base (or keep it white).
2. Frost the Cake
Frost the cake with base color buttercream. There will be plenty of smoothing later, so it does not need to be perfect.
3. Tint the Buttercream
Reserve a small amount of the base color then evenly divide the remaining buttercream for the secondary colors into separate bowls. Tint the buttercream with your 2 to 3 secondary colors.
4. Paint the Cake
Using the end of an offset spatula, add swipes of the colored buttercream around the sides of the cake. This step can be as random or as calculated as you’d like. There really is no right or wrong way. When done, the cake will have patches of color on top of the base buttercream layer.
5. Smooth and Smear
As you would with any smoothly frosted cake, take the straight edge of an icing smoother and gently touch it to the side of the cake. Using the rotating cake stand, turn the cake around until it completes one full rotation. The colored buttercream will begin to blend together and smooth out.
Stop and clean off the icing smoother after each rotation or two. After 3 to 4 rotations, stop and assess the cake.
6. Blend and Repeat
Use an offset spatula to add more buttercream where needed. If the colors are blending too much, you can add back in the reserved base color buttercream.
Remember to smooth, not scrape, the buttercream. Try to smooth out the buttercream in as few rotations as possible. If overworked, the buttercream can blend together too much and lose the watercolor effect.
Once satisfied with the sides of the cake, chill it in the refrigerator for about 15 minutes.
7. Trim the Top
For a super clean and crisp top edge, trim off the excess buttercream with a paring knife. This technique works best if the buttercream is firm.
Why trim the top? This technique prevents the colored buttercream from smearing onto the top of the cake. Alternatively, use an offset spatula to pull the top edges towards the center of the cake and continue the watercolor pattern on the top.
8. Embellish
Use any remaining buttercream to pipe details on the top of the cake. For the cake above, I used a variety of star piping tips to form the rosettes. To do so, pipe tight spirals of buttercream (starting from the inside then out).
Since I always select colors that blend well together, I am able to remix the buttercream scraped off the sides of the cake during the smoothing process. This buttercream can often be tinted a darker color or reused to pipe details after the cake is finished.
Baker's Notes:
Be mindful of your color choices and think about how they might blend together. Using colors that are near each other on the color wheel (think pink, orange, and yellow or blue, purple and pink) will ensure that the blended colors don’t turn muddy.
As mentioned in Step 6, smooth out the buttercream only as much as necessary. The watercolor effect is certainly up to interpretation, but keep in mind that the more you fuss with it, the more the colors will blend together. If you go too far, you may end up with a solid orange cake instead of pink and yellow watercolor.
I’ve successfully made this cake design with both meringue-based and American-style buttercreams.
Remember to reserve a bit of the base or white buttercream to add as needed after Step 5 or if you over-blend.
This is so beautiful, Tessa! I took your virtual class over a year ago and I learned so much. Now ...I just have to make it :)